 I embossed the bike with black ink and black embossing powder just so that the image would be a little stronger. I stamped the "Route 66" stamp and then "colored" that in with a spray or two of my Memories Mists spray.
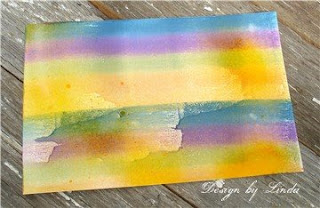
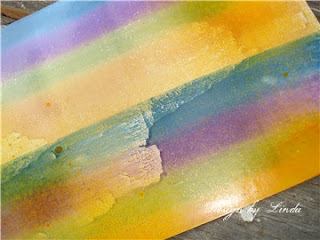
 I wanted my background to be a little different and unique so I used my brayer. I inked it with a Distress Ink pad and spritzed it with water before I ran it across my plain white cardstock. After I stamped the motorcyle, I stamped the map stamp repeatedly over the entire piece with a brown ink.
 And, I picked the Bonus sketch at 2 Sketches 4 You for this week to create the card above. I LOVE this sketch! Most of my elements to the card are stamped.
 The flourish is stamped and then accented with black Stickles. The butterflies are stamped and embossed with a NEW yellow embossing powder from Clearsnap.
 AND how does it get ANY CUTER!!!!!
 These are our two youngest grandkids. Riley was just so excited when he learned that his new cousin was a boy and can you just see how excited they are to be able to spend time together. It will be no time whatsoever when they are running around the yard together.
Thank You for visiting, Linda (lbpost)
ROAD TRIP card
Materials: Route 66 - Stamps courtesy of Artistic Outpost
Patterned paper – Basic Grey
Black ColorBox stamp pad – Clearsnap
Black embossing powder – Top Boss/Clearsnap
Tie Dye Distress Ink – Ranger
Yellow Memories Mists/Stewart Superior
BLESSINGS TO YOU card
Materials list:
Cardstock – Prism
Patterned paper – My Mind’s Eye and October Afternoon
Martha Stewart border punch
Cuttlebug vine die
Rhinestones – Michaels
Flourish and stitched circle stamp – Autumn Leaves
Abc stamp – Stampin’ Up
Butterfly stamp – Inkadinkado
Black Stickles
Yellow embossing powder and ColorBox stamp pads - Clearsnap


